Getting Started in Hole Is Mine
Learn Shelly's controls, the collect–upgrade–Incursion loop, and a safe first-hour plan.
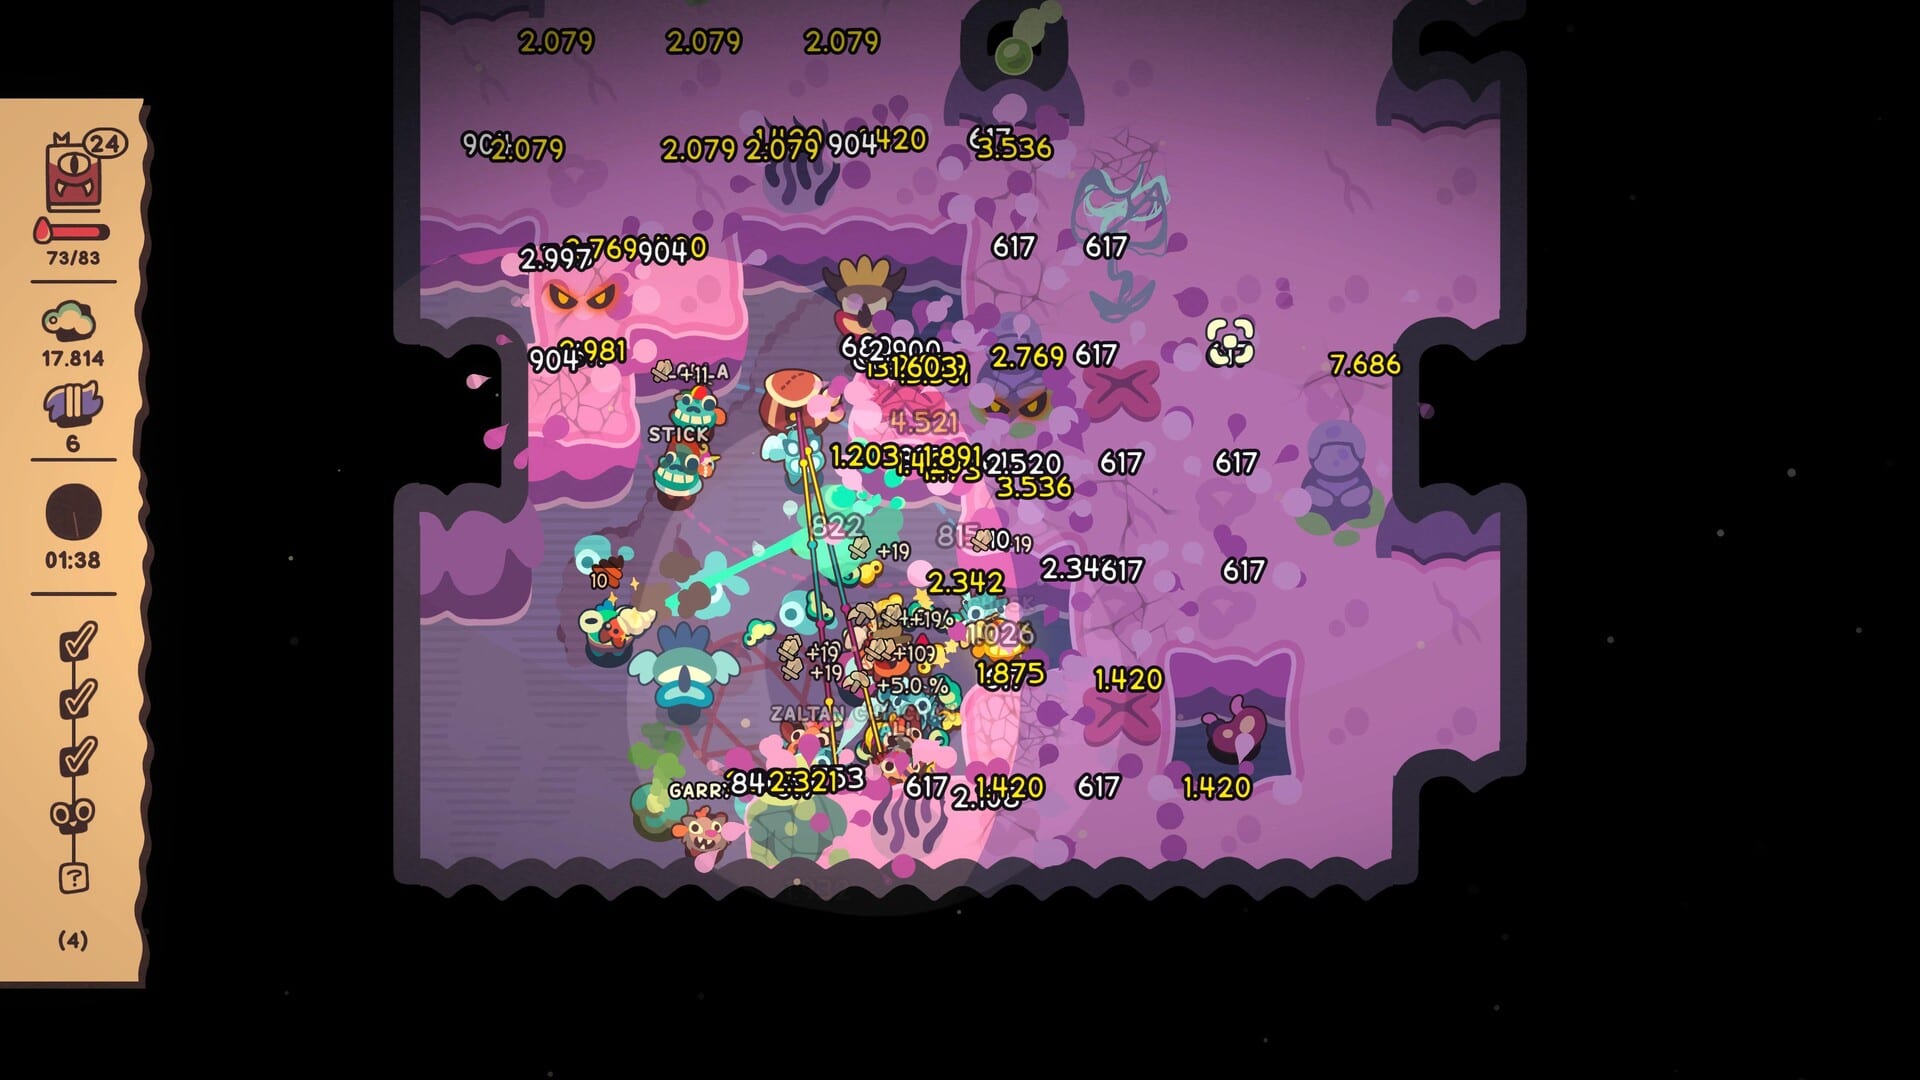
Hole Is Mine drops you into the boots of Shelly, a drill creature tasked with purifying the divine Hole, rescuing Mini’Ohs, and rebuilding a battered Village. The full Steam release (App ID 4508020) launched on August 10, 2026 from Incrementalist with SpaceJazz as co-publisher. It is a single-player incremental adventure with full controller support and Steam Deck Verified status. This getting started guide is the day-one route: controls, first objectives, early upgrade discipline, and how to stop yourself from throwing the bag too early.
If you tried the free Prologue (App ID 4511490), keep the same instincts but expect a denser full game: roughly forty Depths, more than three hundred upgrades, over five hundred equipment combinations, and about five hours of focused core playtime. Nothing here invents multiplayer; there is none. Everything assumes Windows Steam play, keyboard or controller.
Controls you must memorize first
Default keyboard play is simple and intentional. WASD moves Shelly. Left Click grabs and launches. That grab–launch feel is the heart of surface play and Incursion setup. You collect, you position, and you commit. When you are ready for an Incursion, you throw your bag into the Hole. Do not treat that throw as a free “next stage” button. It is a run commitment. For a dedicated timing write-up, jump to How to Start an Incursion after you finish this page.
Controller and Steam Deck players get the same loop with remapped sticks and face buttons. Rebind only after you understand grab versus throw intent. Misbinding launch and bag throw is the fastest way to waste a prepared loadout. Practice one short surface session where you only move, grab, and launch without entering a Depth. Muscle memory pays for itself on the first boss wall.
The loop: collect, upgrade, Incursion
Hole Is Mine is not a pure auto-clicker and not a pure action digger. You gather resources on the surface and in early Depths, spend them on Village projects and equipment, then throw the bag to start an Incursion that pushes purification and Mini’Oh progress. Repeat. The failure mode for new players is rushing Incursions with a scattered upgrade sheet. Early power should concentrate on one carry Mini’Oh and the gear slots that keep that Mini’Oh alive and productive.
Spend your first upgrades on clarity: movement comfort for Shelly, one carry Mini’Oh’s core stats, and the Village nodes that unlock better resource routing. Resist the urge to buy every shiny node the moment it appears. Three hundred-plus upgrades exist so you can specialize over a campaign, not so you can max everything before Depth five. Pair this advice with How to Upgrade when Holy Blook and equipment trees open up.
Day-one checklist
- Complete the tutorial prompts without skipping grab–launch practice.
- Learn where Village rebuild boards live and what they unlock next.
- Rescue your first Mini’Ohs and pick a single carry to feed.
- Equip helmets or masks, pickaxes, and backpacks with purpose — not fashion.
- Farm one clean surface cycle before your first serious bag throw.
- Only then attempt an Incursion and note what killed the run.
Named early gear to watch for includes Friendship Wool, Heavy Axe (often styled Heaxy Axe), Bravery Helmet, and later Holy Blook sinks for equipment upgrades. You will also encounter clone-style items that change how you duplicate pressure. Do not chase every named drop on day one. Grab what supports the carry kit, then read the Depths Walkthrough before you push into tentacle and boss layers.
Village, Mini’Ohs, and why focus beats greed
The Village is your long-term spine. Rebuilding it is not flavor text; it unlocks quality-of-life and power that compound across Depths. Secrets and rebuild priorities are covered in Village and Secrets. On day one, treat Village progress as a scheduled spend after each successful gather cycle. Mini’Ohs you rescue become the team that carries Incursions. Equipping them well matters more than collecting a wide roster you cannot outfit.
A practical rule: if a Mini’Oh is not your carry and not enabling the carry, it waits. Equipment slots span helmets and masks, pickaxes, backpacks, and supporting pieces. Five hundred-plus combinations sound overwhelming until you frame them as “what keeps my carry productive at this Depth.” Use the Tier List Hub once you have enough options to compare, not before you own a coherent starter kit.
First Incursion without tilting
Your first Incursion should answer questions, not prove ego. Did the bag throw happen after a real upgrade spike? Did the carry Mini’Oh have a helmet or mask and a pickaxe that match the Depth theme? Did you leave Village nodes unfinished that would have smoothed resource flow? If the run dies early, return to surface farming instead of repeating the same throw. The How to Start an Incursion guide explains timing in more detail; this page only needs you to respect the commitment.
Watch for divine Hole purification progress after successful pushes. That meter is your campaign north star. Depth count climbs toward roughly forty layers, and hazards escalate. Tentacles and bosses are not day-one targets. Learn the feel of a clean clear first. When the campaign finally opens Infinite Hole, switch to Infinite Hole for farming structure.
Session plan for the first two hours
Hour one: controls, Village orientation, first Mini’Oh investments, and a cautious Incursion. Hour two: tighten equipment slots, dump Holy Blook into the carry’s best upgrade path, and attempt one deeper push with notes. Capture what failed. Hole Is Mine rewards written discipline more than raw speed. About five hours of core playtime assumes you do not soft-lock yourself with scatterbrain spending.
If you bounce between this guide and the rest of the Guides Hub, keep a simple notebook: carry name, current Depth wall, next Village unlock, next Holy Blook sink. That four-line log prevents most day-two regret. For store links and community destinations, use the Links Hub. For patch context later, skim Updates.
Common day-one mistakes
Throwing the bag the moment the throw unlocks. Spreading upgrades across every Mini’Oh equally. Ignoring backpack and pickaxe synergy. Treating Village rebuilds as optional cosmetics. Assuming multiplayer exists and waiting for a friend. Over-reading endgame Infinite Hole advice before you can clear early Depths. All of those slow purification and make the middle Depths feel hostile.
Do the opposite. Move with WASD confidently. Grab and launch with Left Click until it is automatic. Feed one carry. Rebuild the Village on a schedule. Throw the bag only after a tangible power spike. Then climb. When you are ready for systems depth, continue through upgrades, Incursions, Depths, Village secrets, and Infinite Hole in that order from the Guides Hub. Shelly’s drill is patient. Your upgrade sheet should be too.
Frequently Asked Questions
Quick answers about Hole Is Mine progression and builds.
What are the default Hole Is Mine controls?
WASD moves Shelly and Left Click grabs or launches. Throw your bag into the Hole when you are ready to start an Incursion. Controllers and Steam Deck are fully supported.
Should I rush Incursions on day one?
No. Farm and upgrade first, focus early points into one carry Mini'Oh, then throw the bag after a real power spike.
Is Hole Is Mine multiplayer?
No. The Steam full release is single-player only. Plan your Depths and Village rebuilds as a solo campaign.
How long is the core campaign?
Expect around five hours of focused play through the main Depth climb, longer if you explore secrets or linger in farming loops.
What is the free Prologue?
App ID 4511490 is a free Prologue. This guide targets the full released game (4508020) with the complete upgrade and Depth scope.