Hole Is Mine Equipment Tier List
Archetype rankings so you know what to chase, craft, and keep equipped.
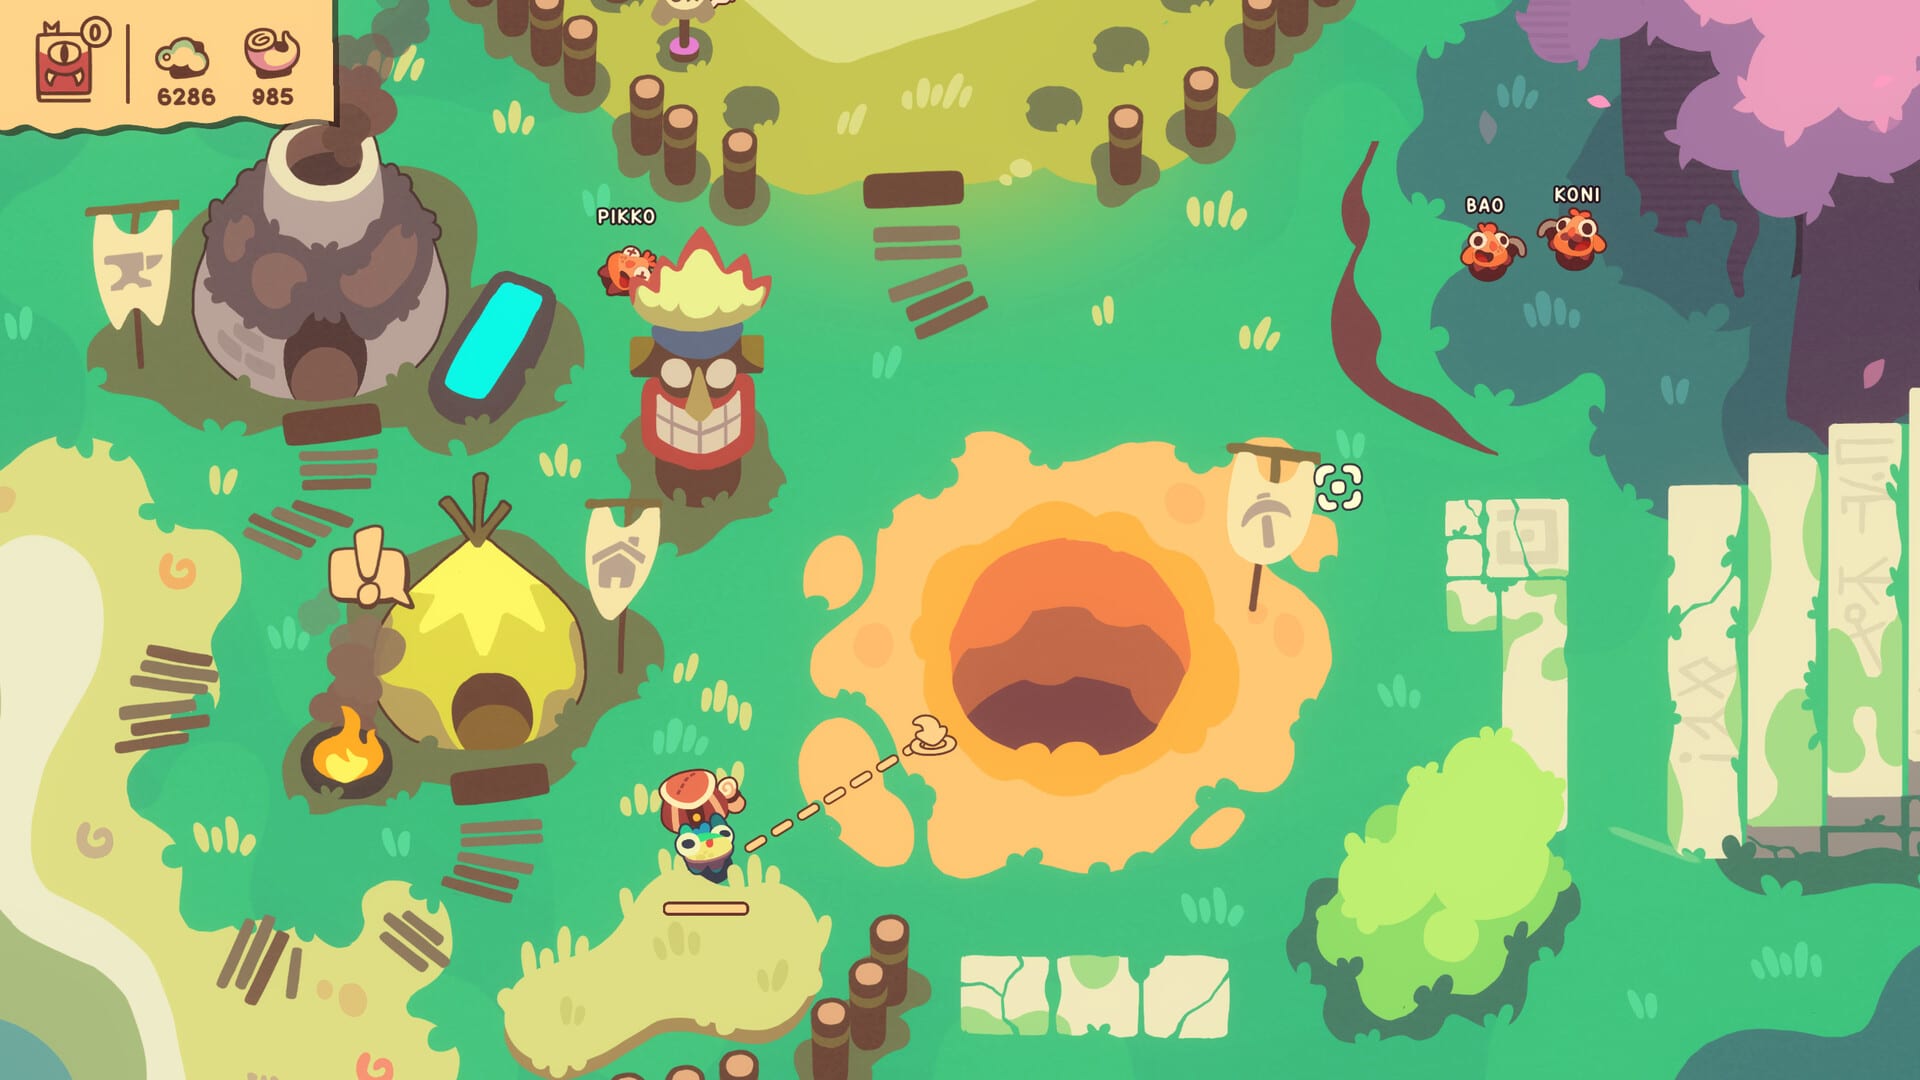
This Equipment Tier List ranks Hole Is Mine gear by role, not by hype. Shelly digs with Mini’Ohs under WASD movement and left-click mining; the bag throw fuels Incursions that unlock big progression spikes. Across roughly forty Depths, three hundred–plus upgrades, and five hundred–plus equipment combinations, the right archetype at the right time matters more than owning every shiny piece. Use this page with Early Game Builds for opening hours and the Equipment List for slot-by-slot catalog notes.
How we tier equipment
- S-tier — Enables or multiplies a core loop (mine, collect, throw) so hard you feel Depth walls soften.
- A-tier — Excellent once you know your bottleneck; often best-in-slot for a specific stretch.
- B-tier — Situational, transitional, or fun. Keep if it plugs a hole; do not over-invest early.
We evaluate four archetypes: mining DPS, throw damage, collection, and survival. A single item can touch two columns; we place it where it most often decides outcomes.
Mining DPS tiers
S — Heavy Axe / Heaxy Axe line. Axes that amplify strike power and clear speed are the backbone of Depth pushes. When walls and nodes take forever, these axes are the first equipment investments that feel honest. Pair with a specialized carry Mini’Oh so mining time converts into bag fill instead of idle swings.
A — Strike amplifiers and mid-game axes. Solid damage without the full Heavy/Heaxy ceiling. Great bridges when you lack S-tier drops. Prefer pieces that also slightly help collection or stamina so your Incursion cadence does not stall.
B — Novelty mining tools. Cute or niche strike items that underperform on clear speed. Fine for experimentation in Infinite Hole once the campaign is done; not early priorities.
Throw damage tiers
S — Bag and Incursion multipliers. Anything that makes the thrown bag hit harder or pay out better is S-tier for progression because Incursions are the campaign’s tempo setters. Time throws when the bag is meaningfully full and the window looks favorable.
A — Hybrid throw pieces. Moderate throw bonuses with secondary mining or survival perks. Excellent when you already have a decent axe and need Incursions to keep pace with Depth requirements.
B — Pure cosmetic throw flair. Visual or minor percent bumps that do not change Incursion outcomes. Park them until core S/A throw and mining slots are filled.
Collection tiers
S — Carry and gather enablers; clone Mini’Oh items. Collection is the silent S-rank of Hole Is Mine. Early tip from the community and design loop: upgrade one carry Mini’Oh hard. Clone Mini’Oh items that multiply crew presence belong here when they increase effective gather rate. Friendship Wool-style synergy pieces also rise when they keep the crew coordinated around pickup and haul.
A — Radius, capacity, and helper Mini’Oh gear. Strong when the bag fills too slowly relative to mining speed. If you axe well but throw empty-ish bags, move collection gear up your shopping list immediately.
B — Marginal pickup trinkets. Small radius bumps or late duplicates. Useful filler; not worth skipping a survival helmet or axe upgrade for.
Survival tiers
S — Bravery Helmet and durable push gear. When Depth pressure spikes, dying or sleeping Mini’Ohs erase minutes of dig progress. Bravery Helmet represents the helmet archetype that lets you stay in the Hole longer and wake sleepers on a healthier schedule.
A — Friendship Wool and soft buffers. Wool-like pieces stabilize runs, reduce panic recalls, and support equip synergy. Holy Blook sits near the top of A (borderline S for long sessions) because blood and equip leveling paths compound over a full campaign and into Infinite Hole.
B — Niche resists and late vanity armor. Helpful in specific Depth themes; optional before you have mining, throw, and collection covered.
Notable named pieces (quick reference)
| Piece | Primary role | Suggested tier |
|---|---|---|
| Heavy / Heaxy Axe | Mining DPS | S |
| Bravery Helmet | Survival | S |
| Friendship Wool | Survival / synergy | A |
| Holy Blook | Blood / equip leveling | A–S situational |
| Clone Mini’Oh item | Collection / crew | S when carry-focused |
Exact drop timing varies; treat names as archetypes if a patch renames variants.
How to apply the list mid-run
- Identify the bottleneck: slow clear (mining), empty bag (collection), weak Incursion (throw), or constant sleeps/deaths (survival).
- Spend on the matching S-tier archetype before shopping A-tier elsewhere.
- Check Upgrade Priority so tree nodes reinforce the same archetype.
- Log swaps in the Build Planner and mark Depths in the Depth Tracker.
Synergy notes
Holy Blook shines when you commit to leveling equipment over a long session—campaign plus Infinite Hole. Friendship Wool rewards builds that already have a defined carry Mini’Oh rather than a messy roster. Clone Mini’Oh items are wasted if you still spread upgrades evenly; specialize first, then clone the success. Axes without collection support create the classic trap: high DPS, starved Incursions.
Closing advice
Hole Is Mine is single-player incremental content—no codes page, no scripts meta. Revisit this tier list whenever a Depth feels unfair; the answer is usually a role mismatch, not a missing secret. Combine rankings with Early Game Builds and catalog details on the Equipment List so every equip slot serves the collect–upgrade–Incursion rhythm that clears all ~40 Depths and sets you up for Infinite Hole.
Frequently Asked Questions
Quick answers about Hole Is Mine progression and builds.
Why rank archetypes instead of a giant item ladder?
Patches can shuffle numbers; mining, throw, collection, and survival roles stay stable. Rank the role you need, then pick the best available piece in that column.
Is Holy Blook S-tier?
Treat it as high A, situational S for long campaigns and Infinite Hole where blood and equip leveling compound. Early hours may prefer axes and carry Mini'Oh gear first.
Where should I go after reading this list?
Apply openings from Early Game Builds, buy nodes via Upgrade Priority, and confirm slot names on the Equipment List.
Do B-tier items mean trash?
No. B-tier means situational or transitional. Keep them if they fix a temporary bottleneck, then replace when S/A options arrive.